Panel
The Gurubase Gateway admin panel: sign-in and MFA, usage charts, token budget and quota alerts, plus user and virtual key management in one place.
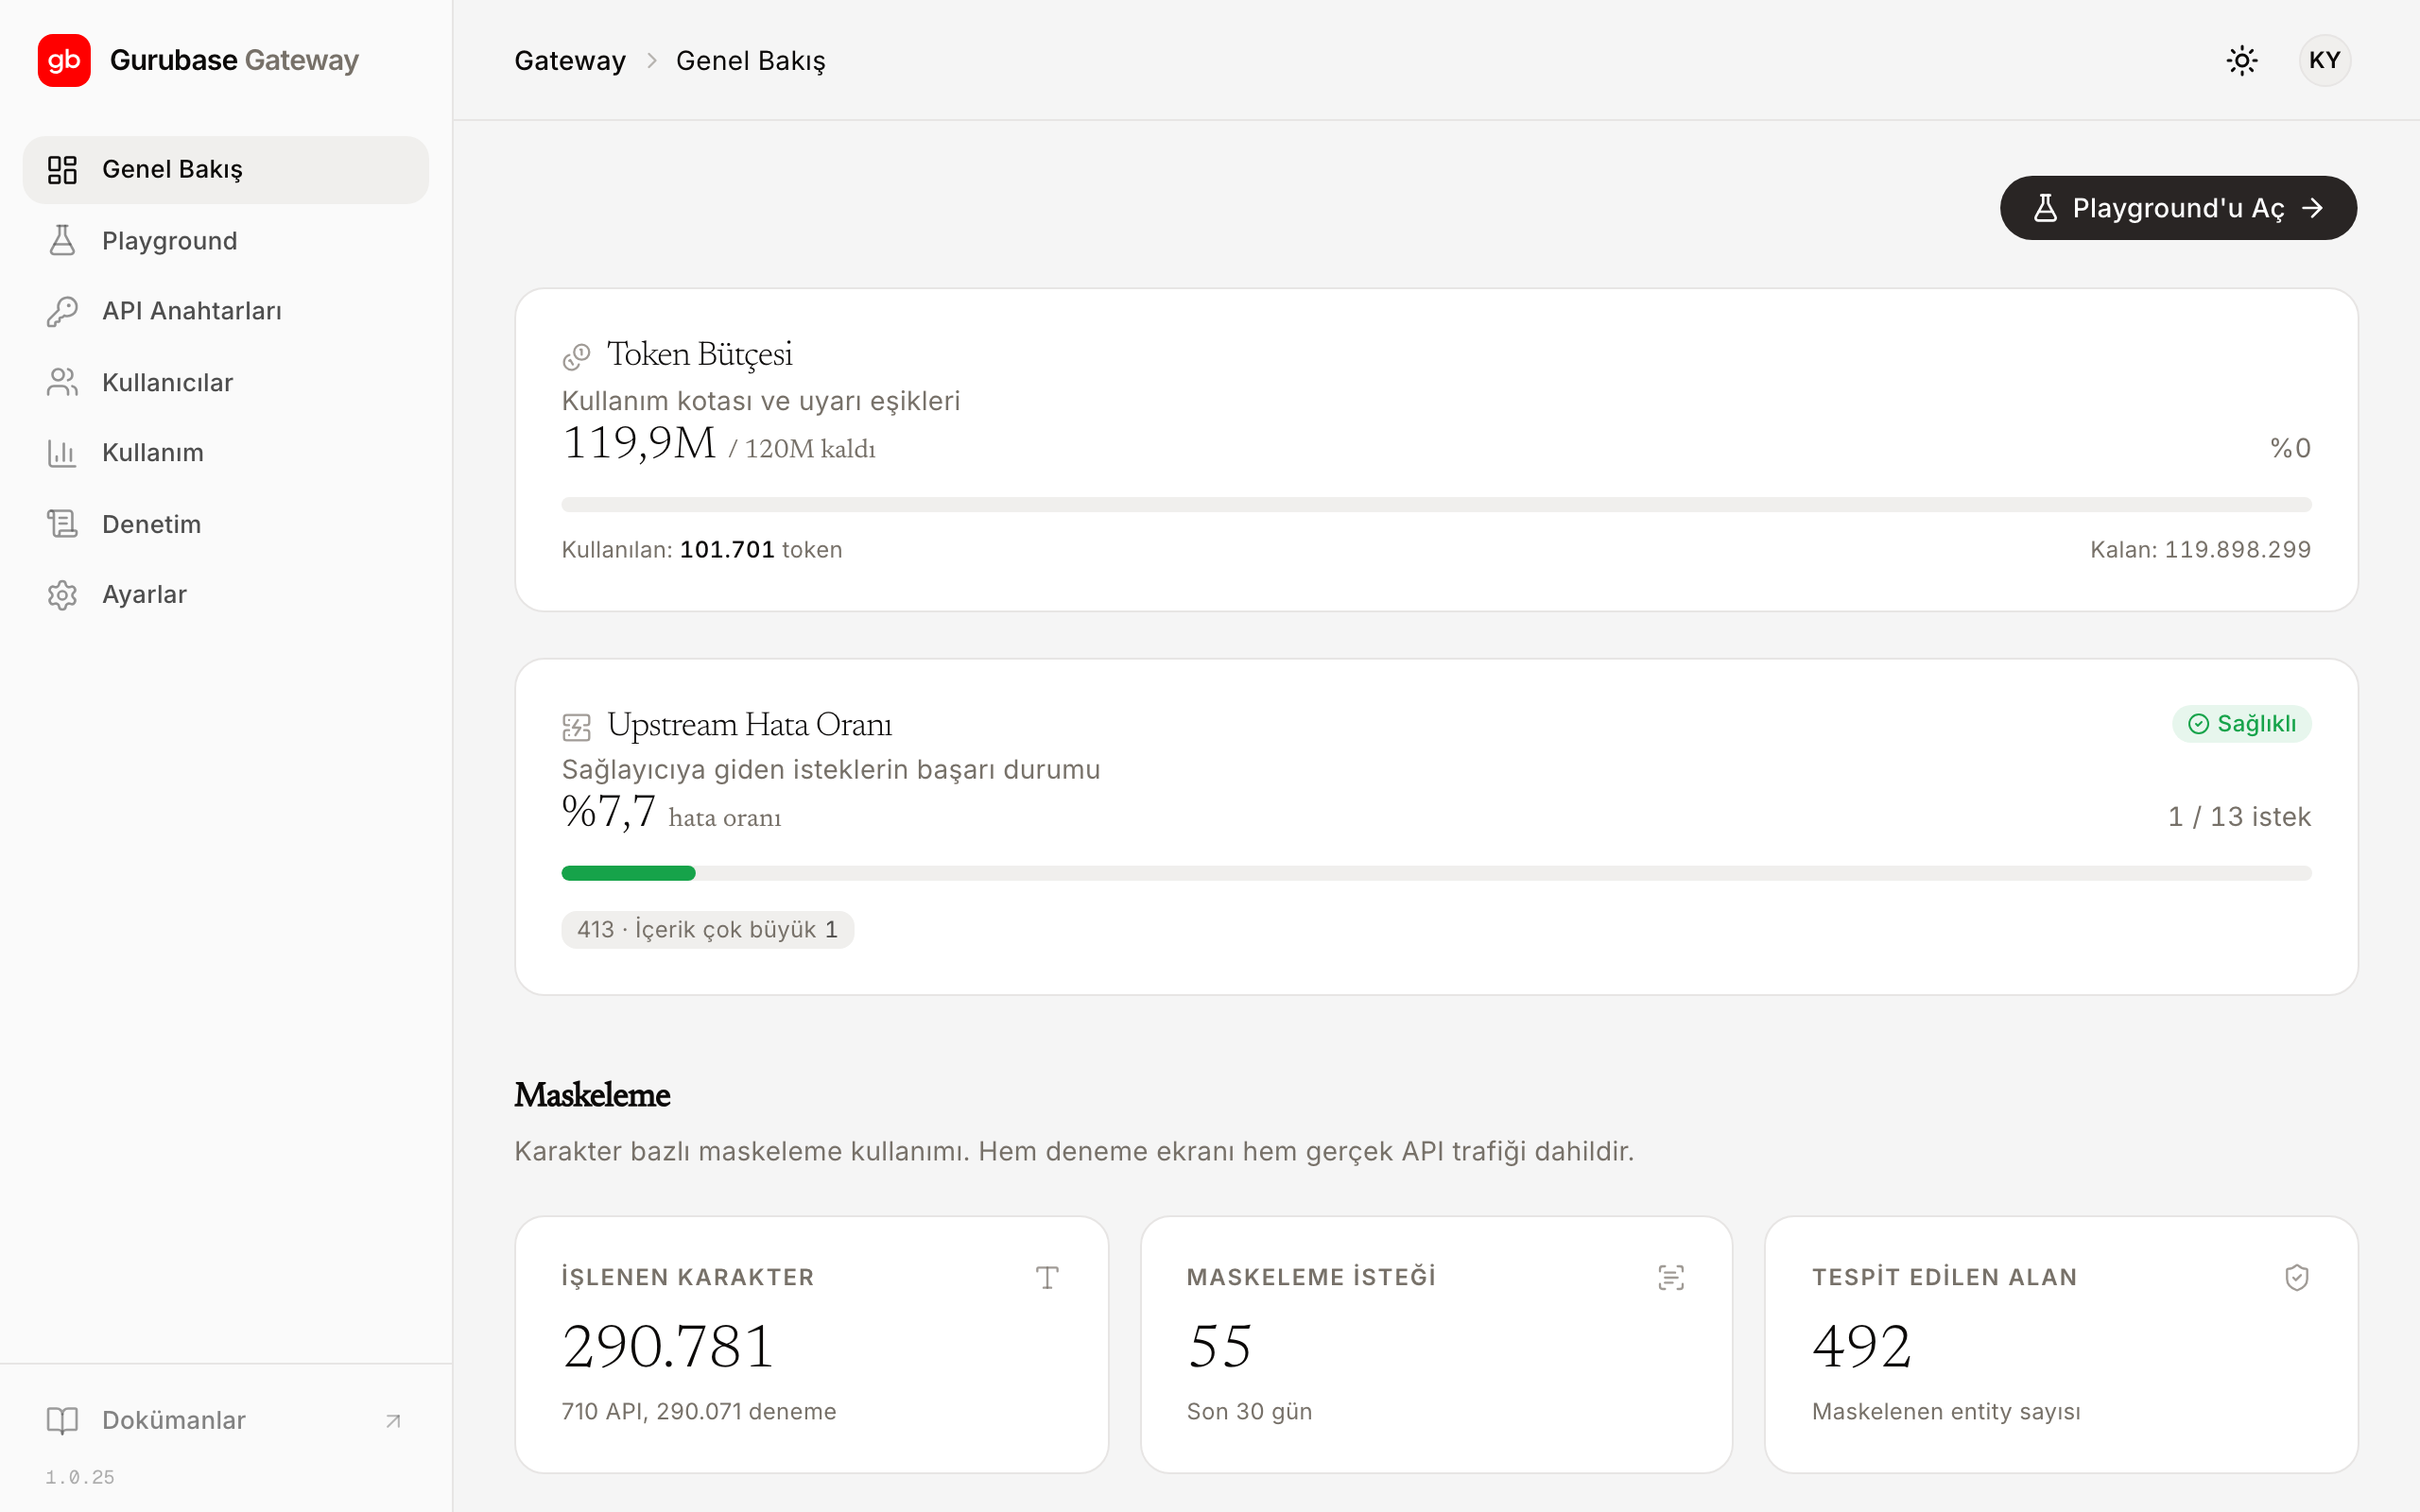
You manage the Gateway from the panel at https://gateway-tr.gurubase.io: virtual keys, usage tracking, quota, and users in one place. The panel UI is in Turkish. When you sign in, the “Genel Bakış” (Overview) screen opens; this is where you see the state of your token budget, the error rate of requests going to the provider, and the masking counters.
Sign-in and MFA
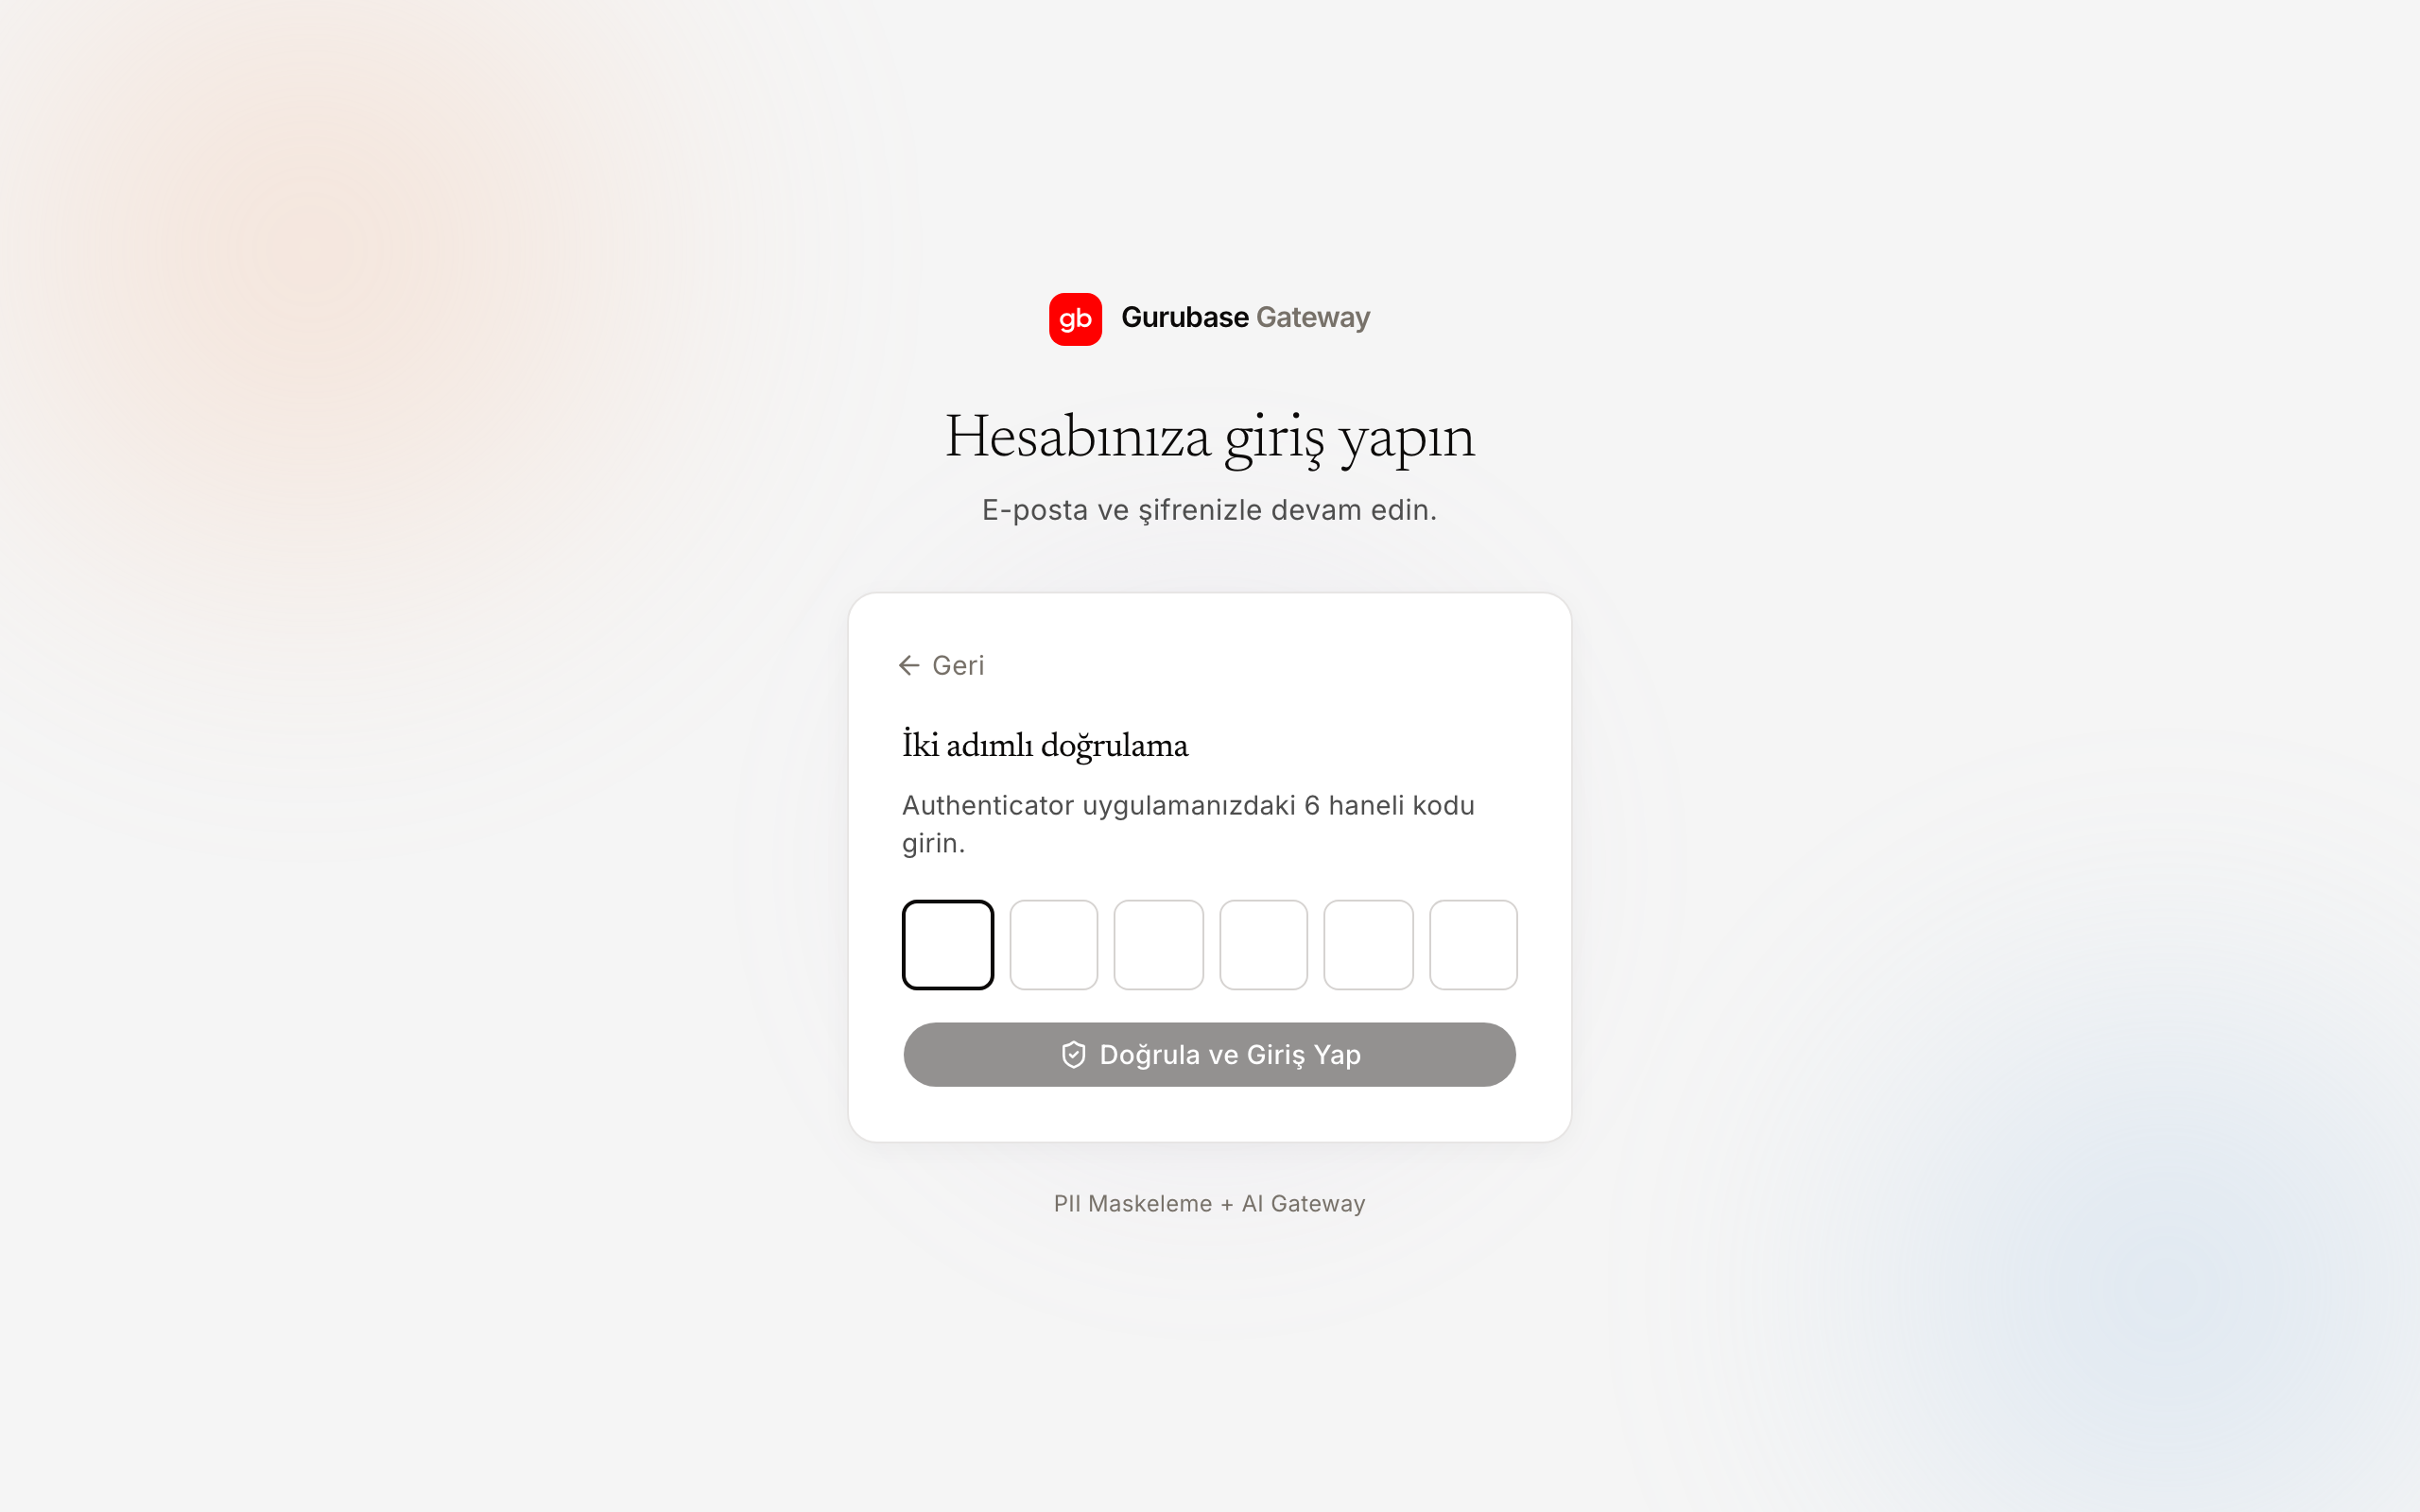
You sign in to the panel with your email and password. On first sign-in, you are asked to set up multi-factor authentication (MFA): you scan the QR code with a TOTP app (such as Google Authenticator or 1Password) and enter the generated 6-digit code. On later sign-ins, the current code is requested alongside your password. MFA cannot be skipped; if a user changes phones and can no longer generate codes, an administrator resets their verification.
Usage charts
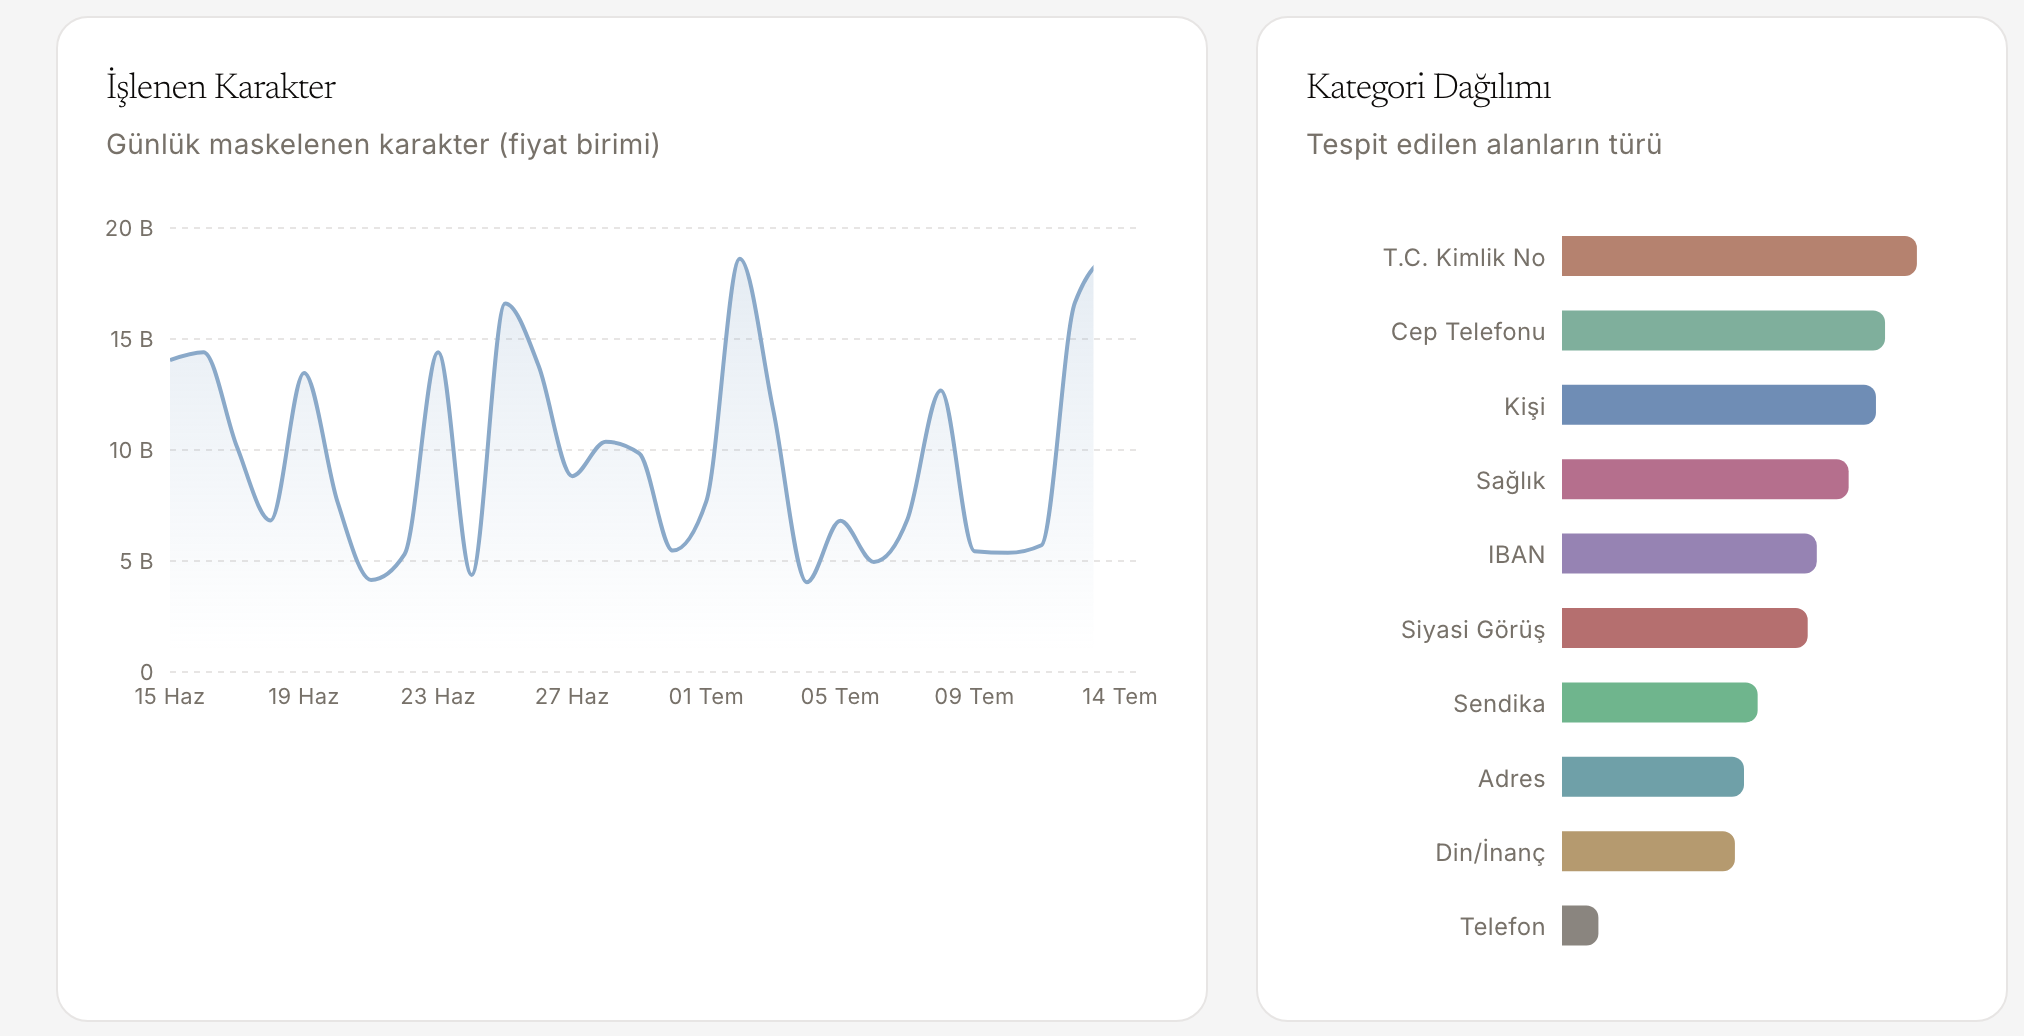
The “Kullanım” (Usage) screen shows request and token counts for the time range you select, split into input and output. The daily processed-characters chart and the distribution of detected categories are on the same screen; with the model and virtual key breakdown, you can track which key consumes what.
Quota and alerts
Your token budget sits on a live card in the panel: used, remaining, and warning thresholds. The card warns you at the 80% and full thresholds; the service is not cut off. For details of the budget model and the 429 behavior, see Limits and quotas.

User management
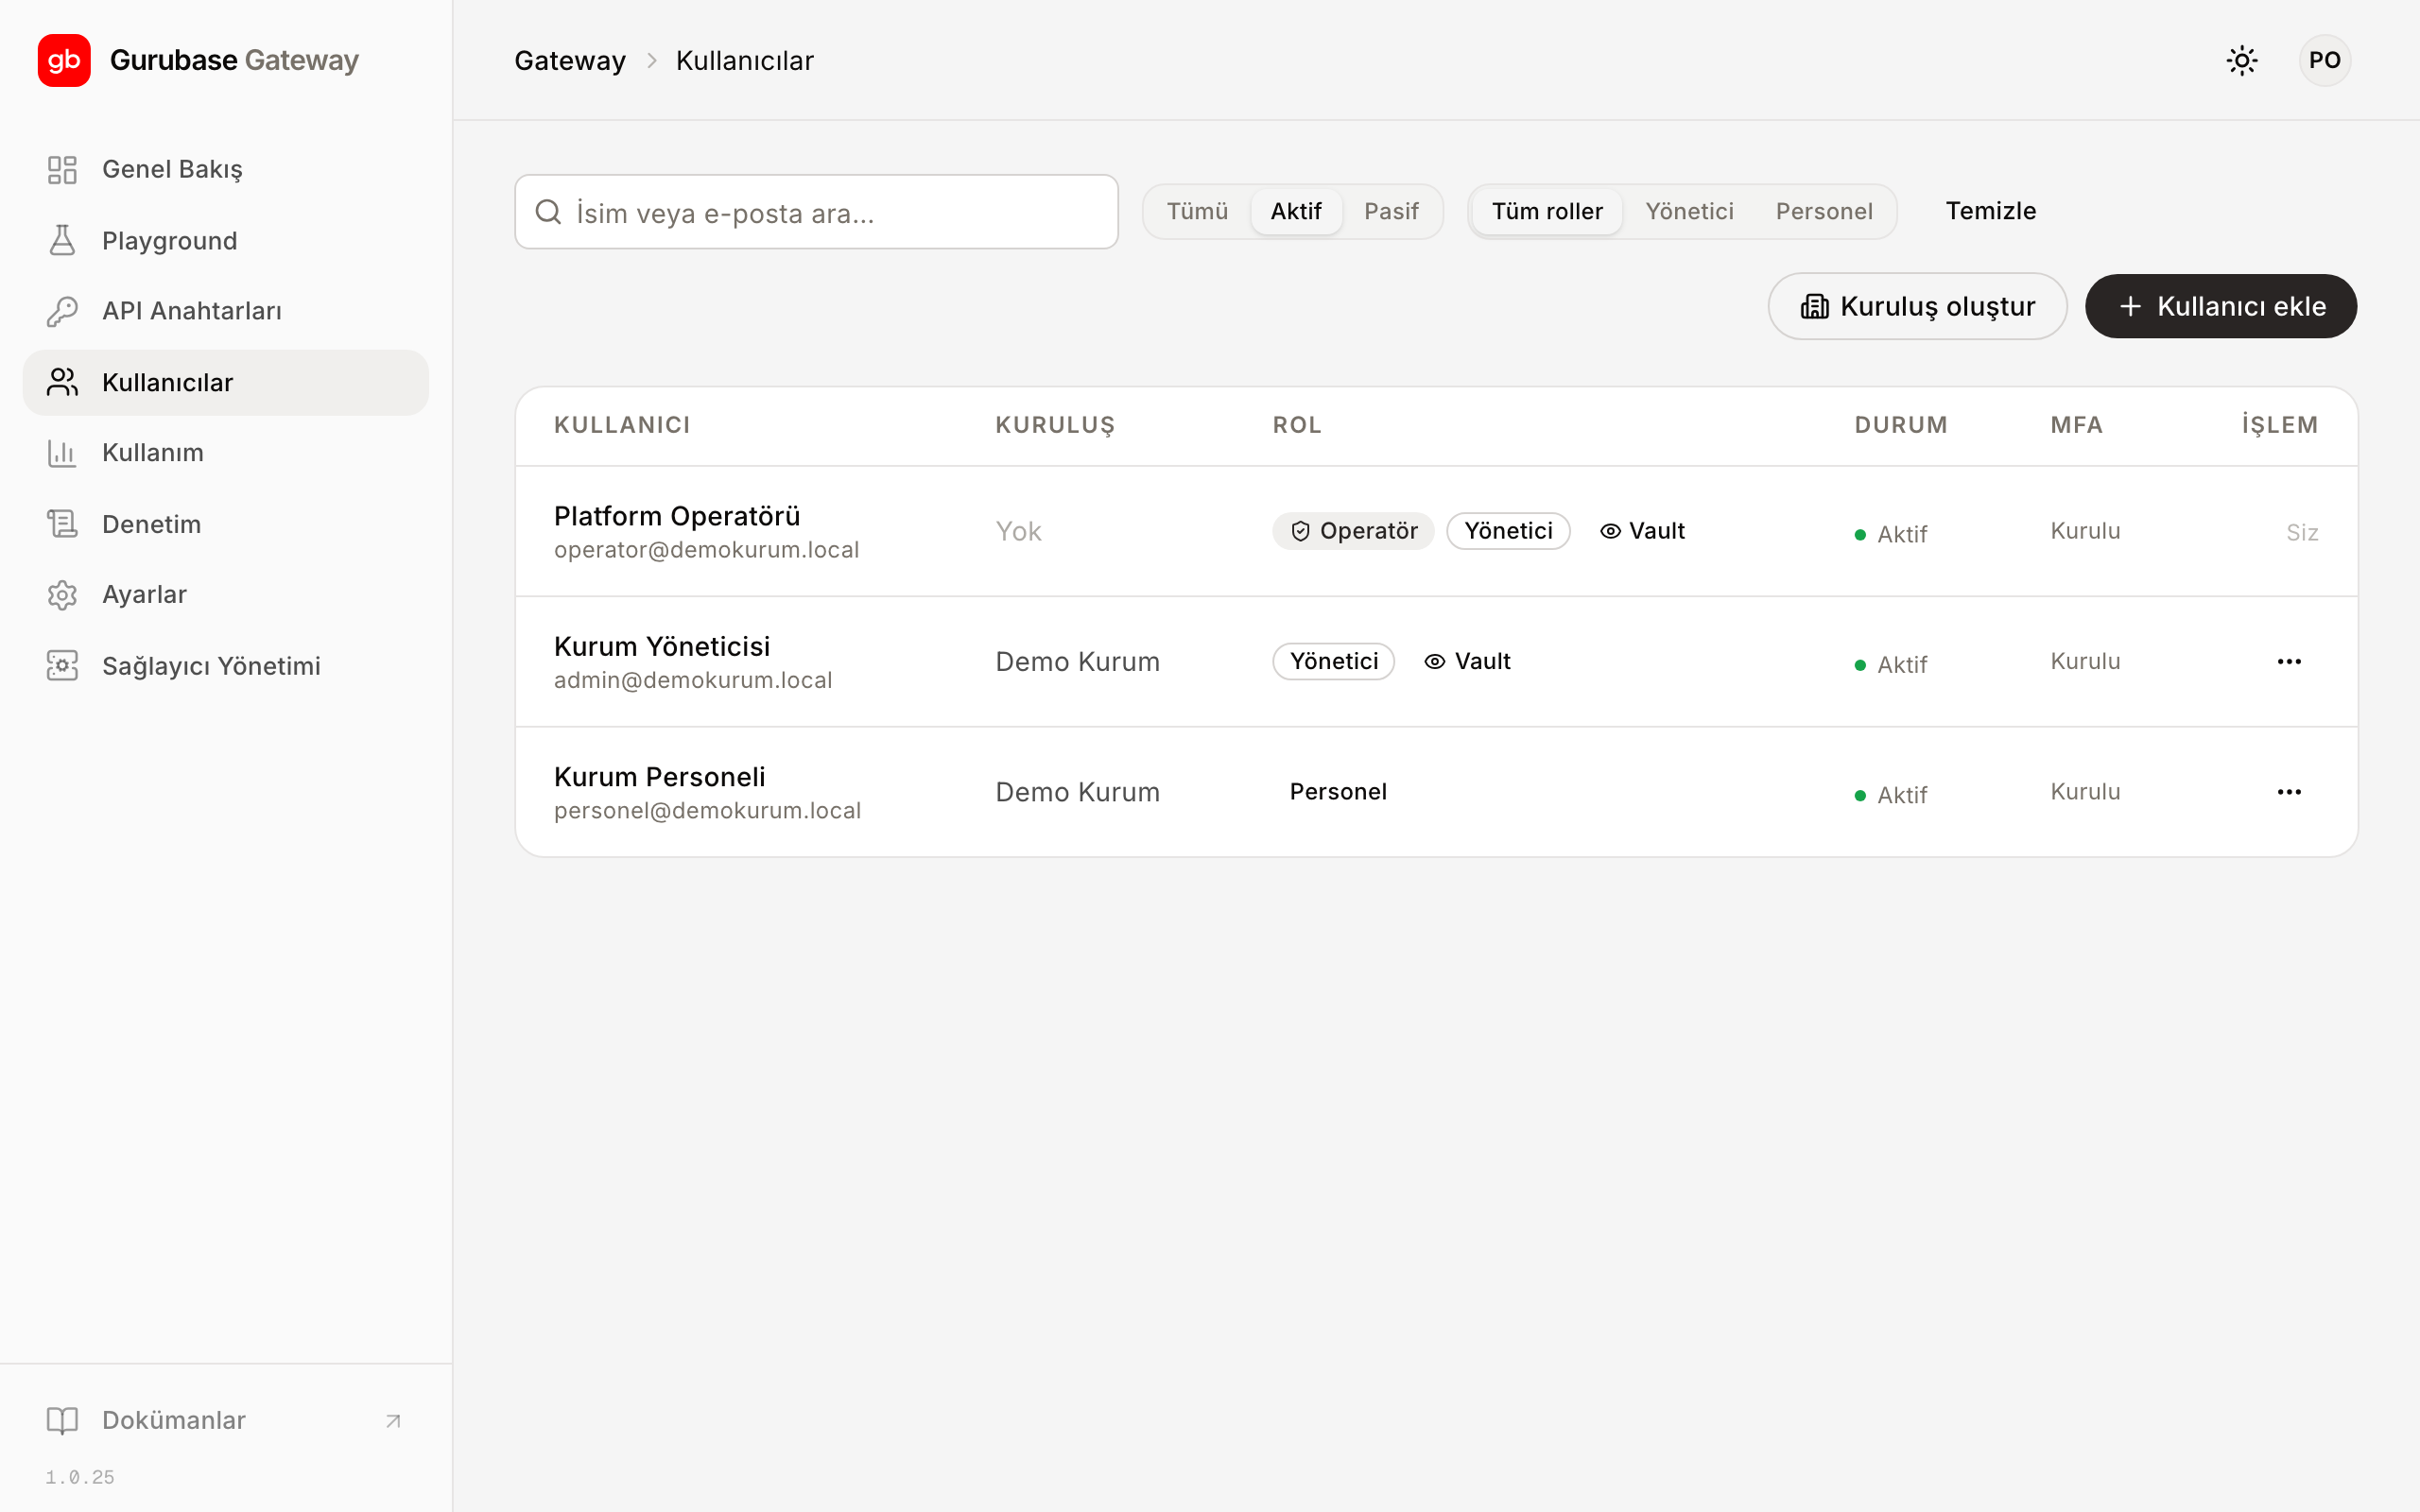
You manage your organization’s accounts from the “Kullanıcılar” (Users) screen. You invite new users and assign roles; permissions are role-based (RBAC). You can deactivate an account and, when needed, reset its MFA setup. Each user’s virtual keys and quota usage are also tracked from the same screen.
Key management
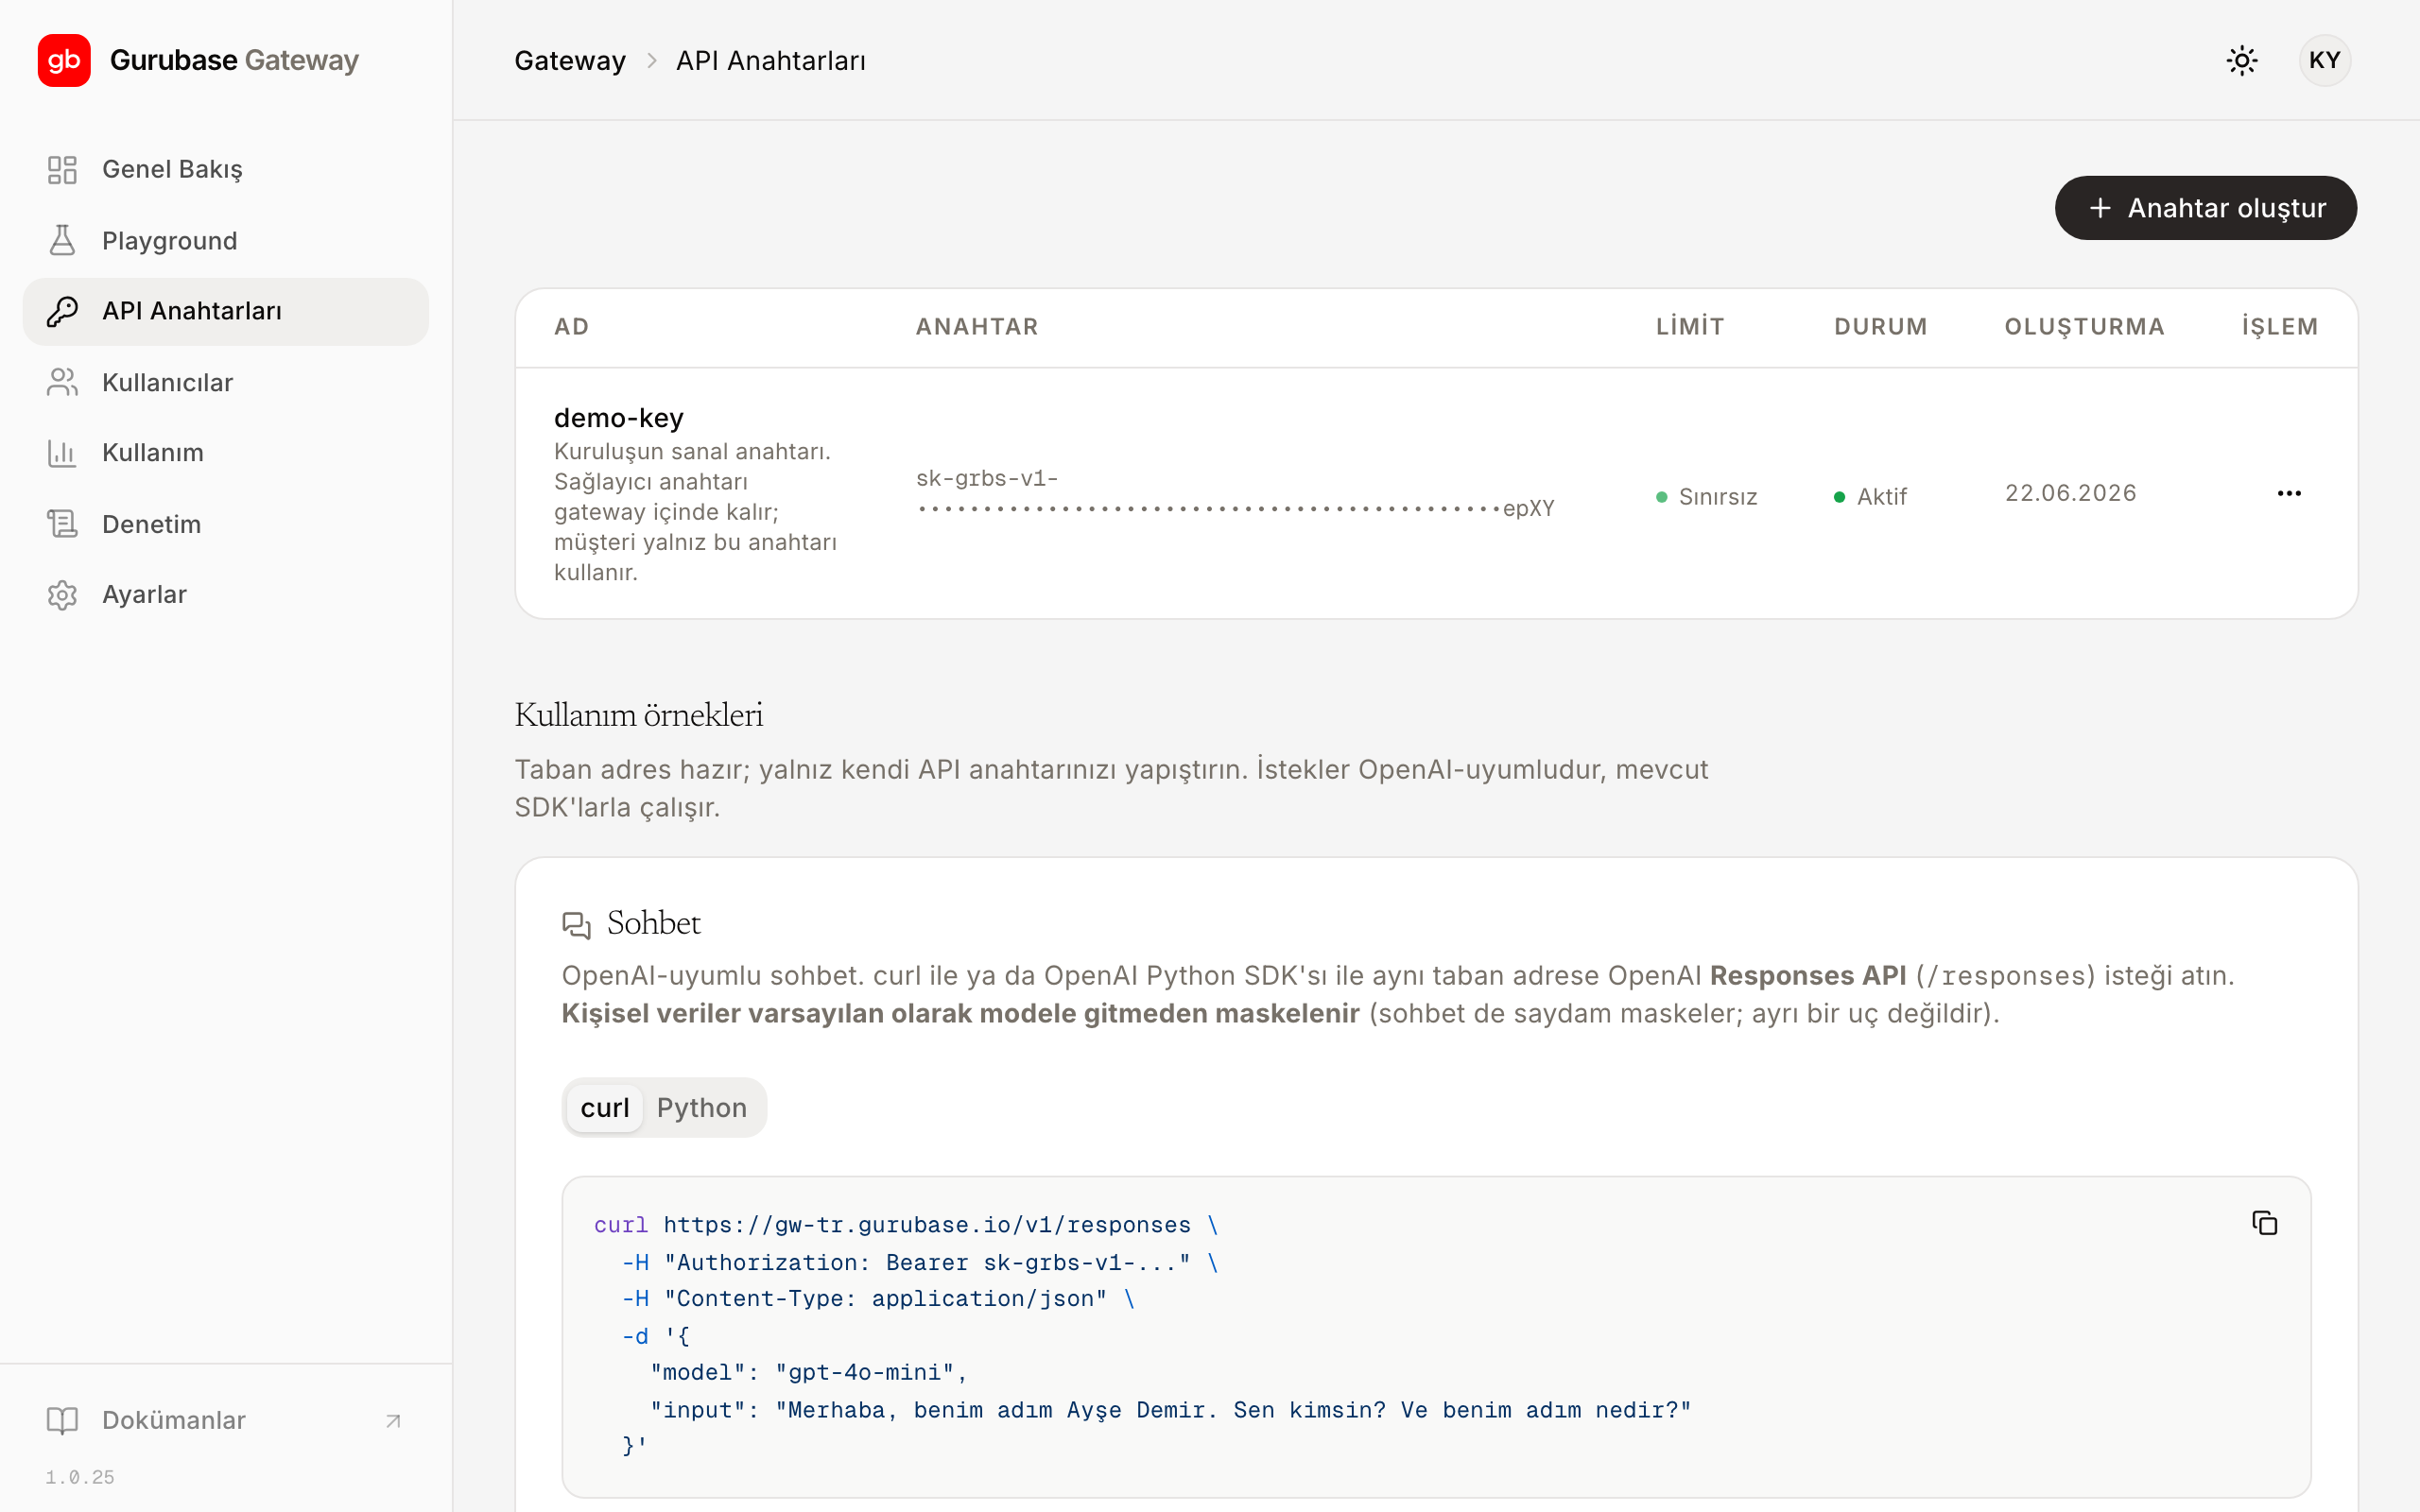
You generate, rotate, and revoke virtual keys from the “Anahtarlar” (Keys) screen. A generated key is shown in full only at the moment of creation; save it somewhere safe right then. Afterwards, only a masked summary remains in the list. The language model provider’s real key is visible neither in the panel nor in the client; it stays inside the Gateway. To wire the key into your application, see Gateway integration.
You can choose what gets masked for each key separately. Open “Güncelle” (Update) from the three dots on the key’s row: built-in data types and your organization’s own patterns are listed together, and you switch each one on or off with a single click. Everything is on by default; a type you switch off is not masked for that key alone and goes to the model as-is.
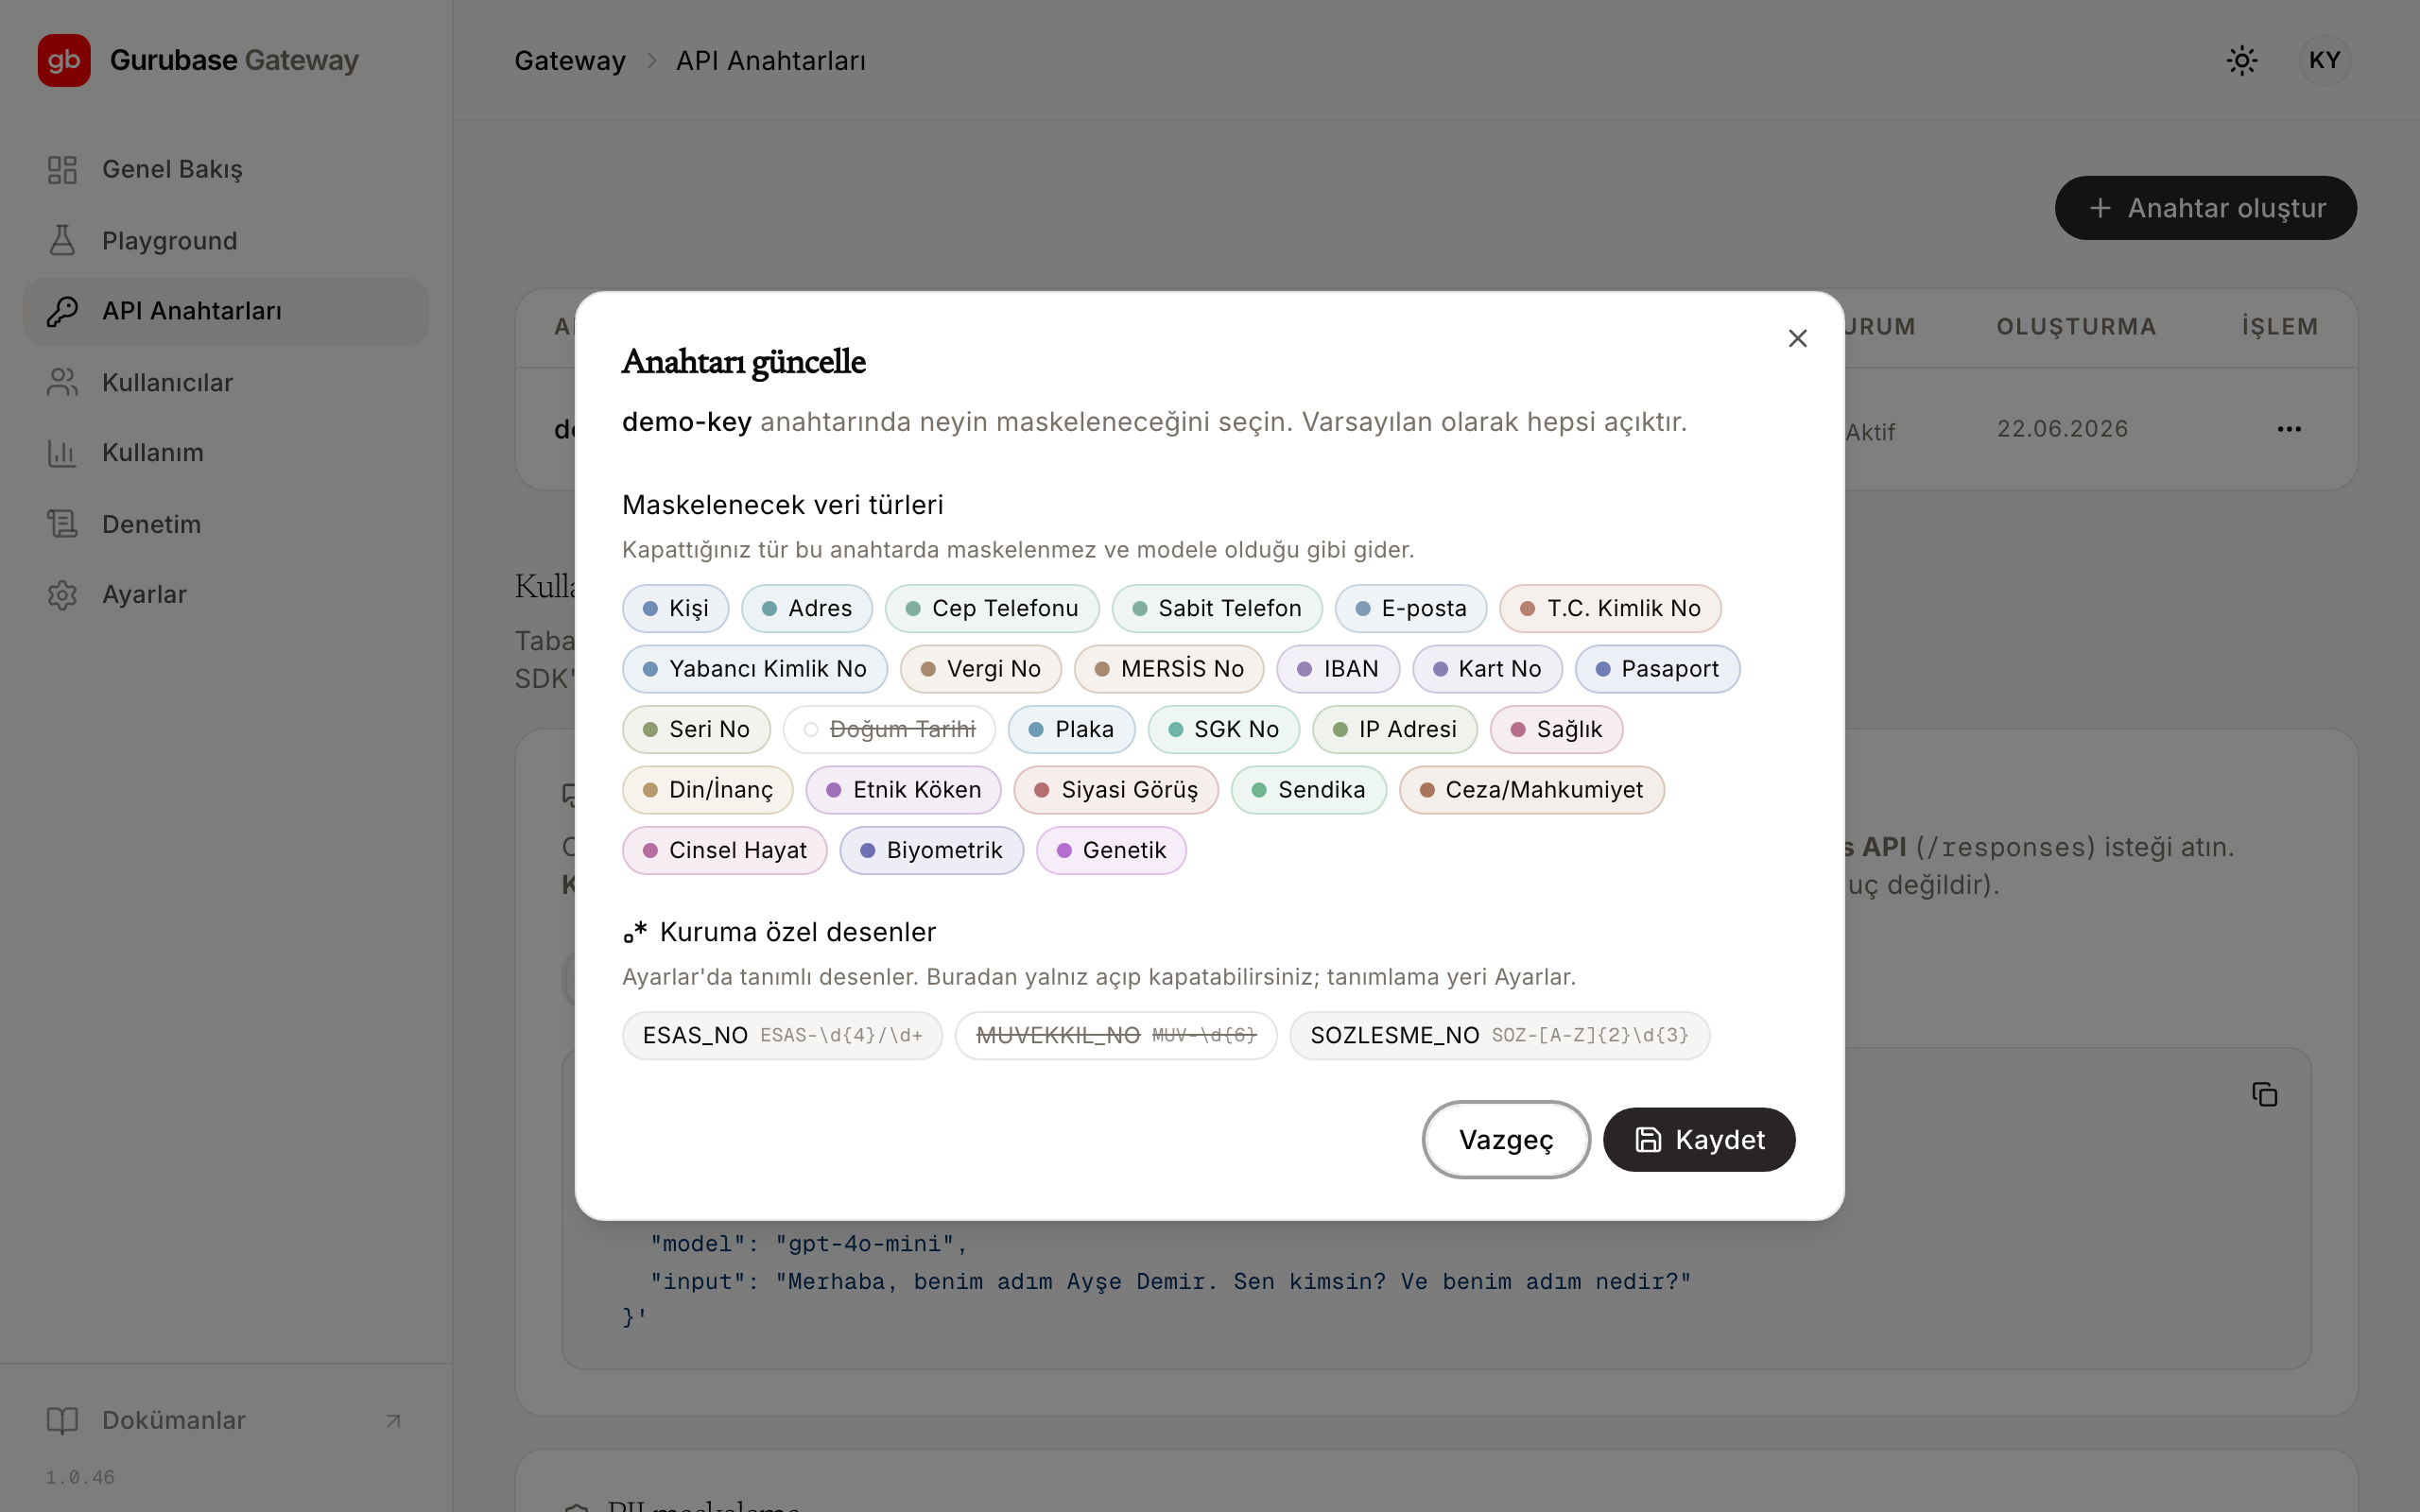
Storing what you switched off, rather than what you left on, is deliberate: when you later add a new pattern under Settings, it applies to your existing keys automatically. You do not have to carry a new rule to each key by hand.
If you want to try masking without writing code, the Playground in the panel is enough; the Playground guide walks through the flow.
Accessible models
Which language models your organization can use is defined on the service side. The “Modeller” (Models) column on the Keys screen shows what each virtual key can actually reach: “Tümü” (All) when the whole catalog is open, or “3 / 8 model” (3 of 8 models) when a subset is defined. Hover the column to see the full list.
The column shows the list carried by the side that serves your request, not what is configured in the panel. A newly defined limit may not have reached the keys yet; at such a moment what you see on screen is what your request will actually reach. That is why the column reads “Bilinmiyor” (Unknown), not “Tümü” (All), when the list has not been carried yet.
When the limit changes, your existing keys converge on their own. Opening the Keys screen is enough; you do not have to do anything by hand.
The list comes in two sections: text models (chat and response generation) and embedding models (vector generation). The split is for convenience; the restriction keeps both kinds in the same list, so you grant embedding access from here as well. For using the embedding endpoint, see Models and providers.
If you would rather check from your application, /v1/models returns the same
effective list. The gurubase-siper name reserved for masking is independent
of this limit and is always available; your access to masking never closes. For
model selection and providers, see Models and providers.
Masking patterns
The built-in categories cover common personal data such as national ID numbers,
phone numbers, and addresses. If your organization also has identifiers of its
own (a case number, a client code, an order number), you define them under
“Ayarlar > Maskeleme Desenleri” (Settings > Masking Patterns). The label you
give determines the placeholder that appears in the masked output: the label
MUVEKKIL_NO produces <MUVEKKIL_NO_1>.
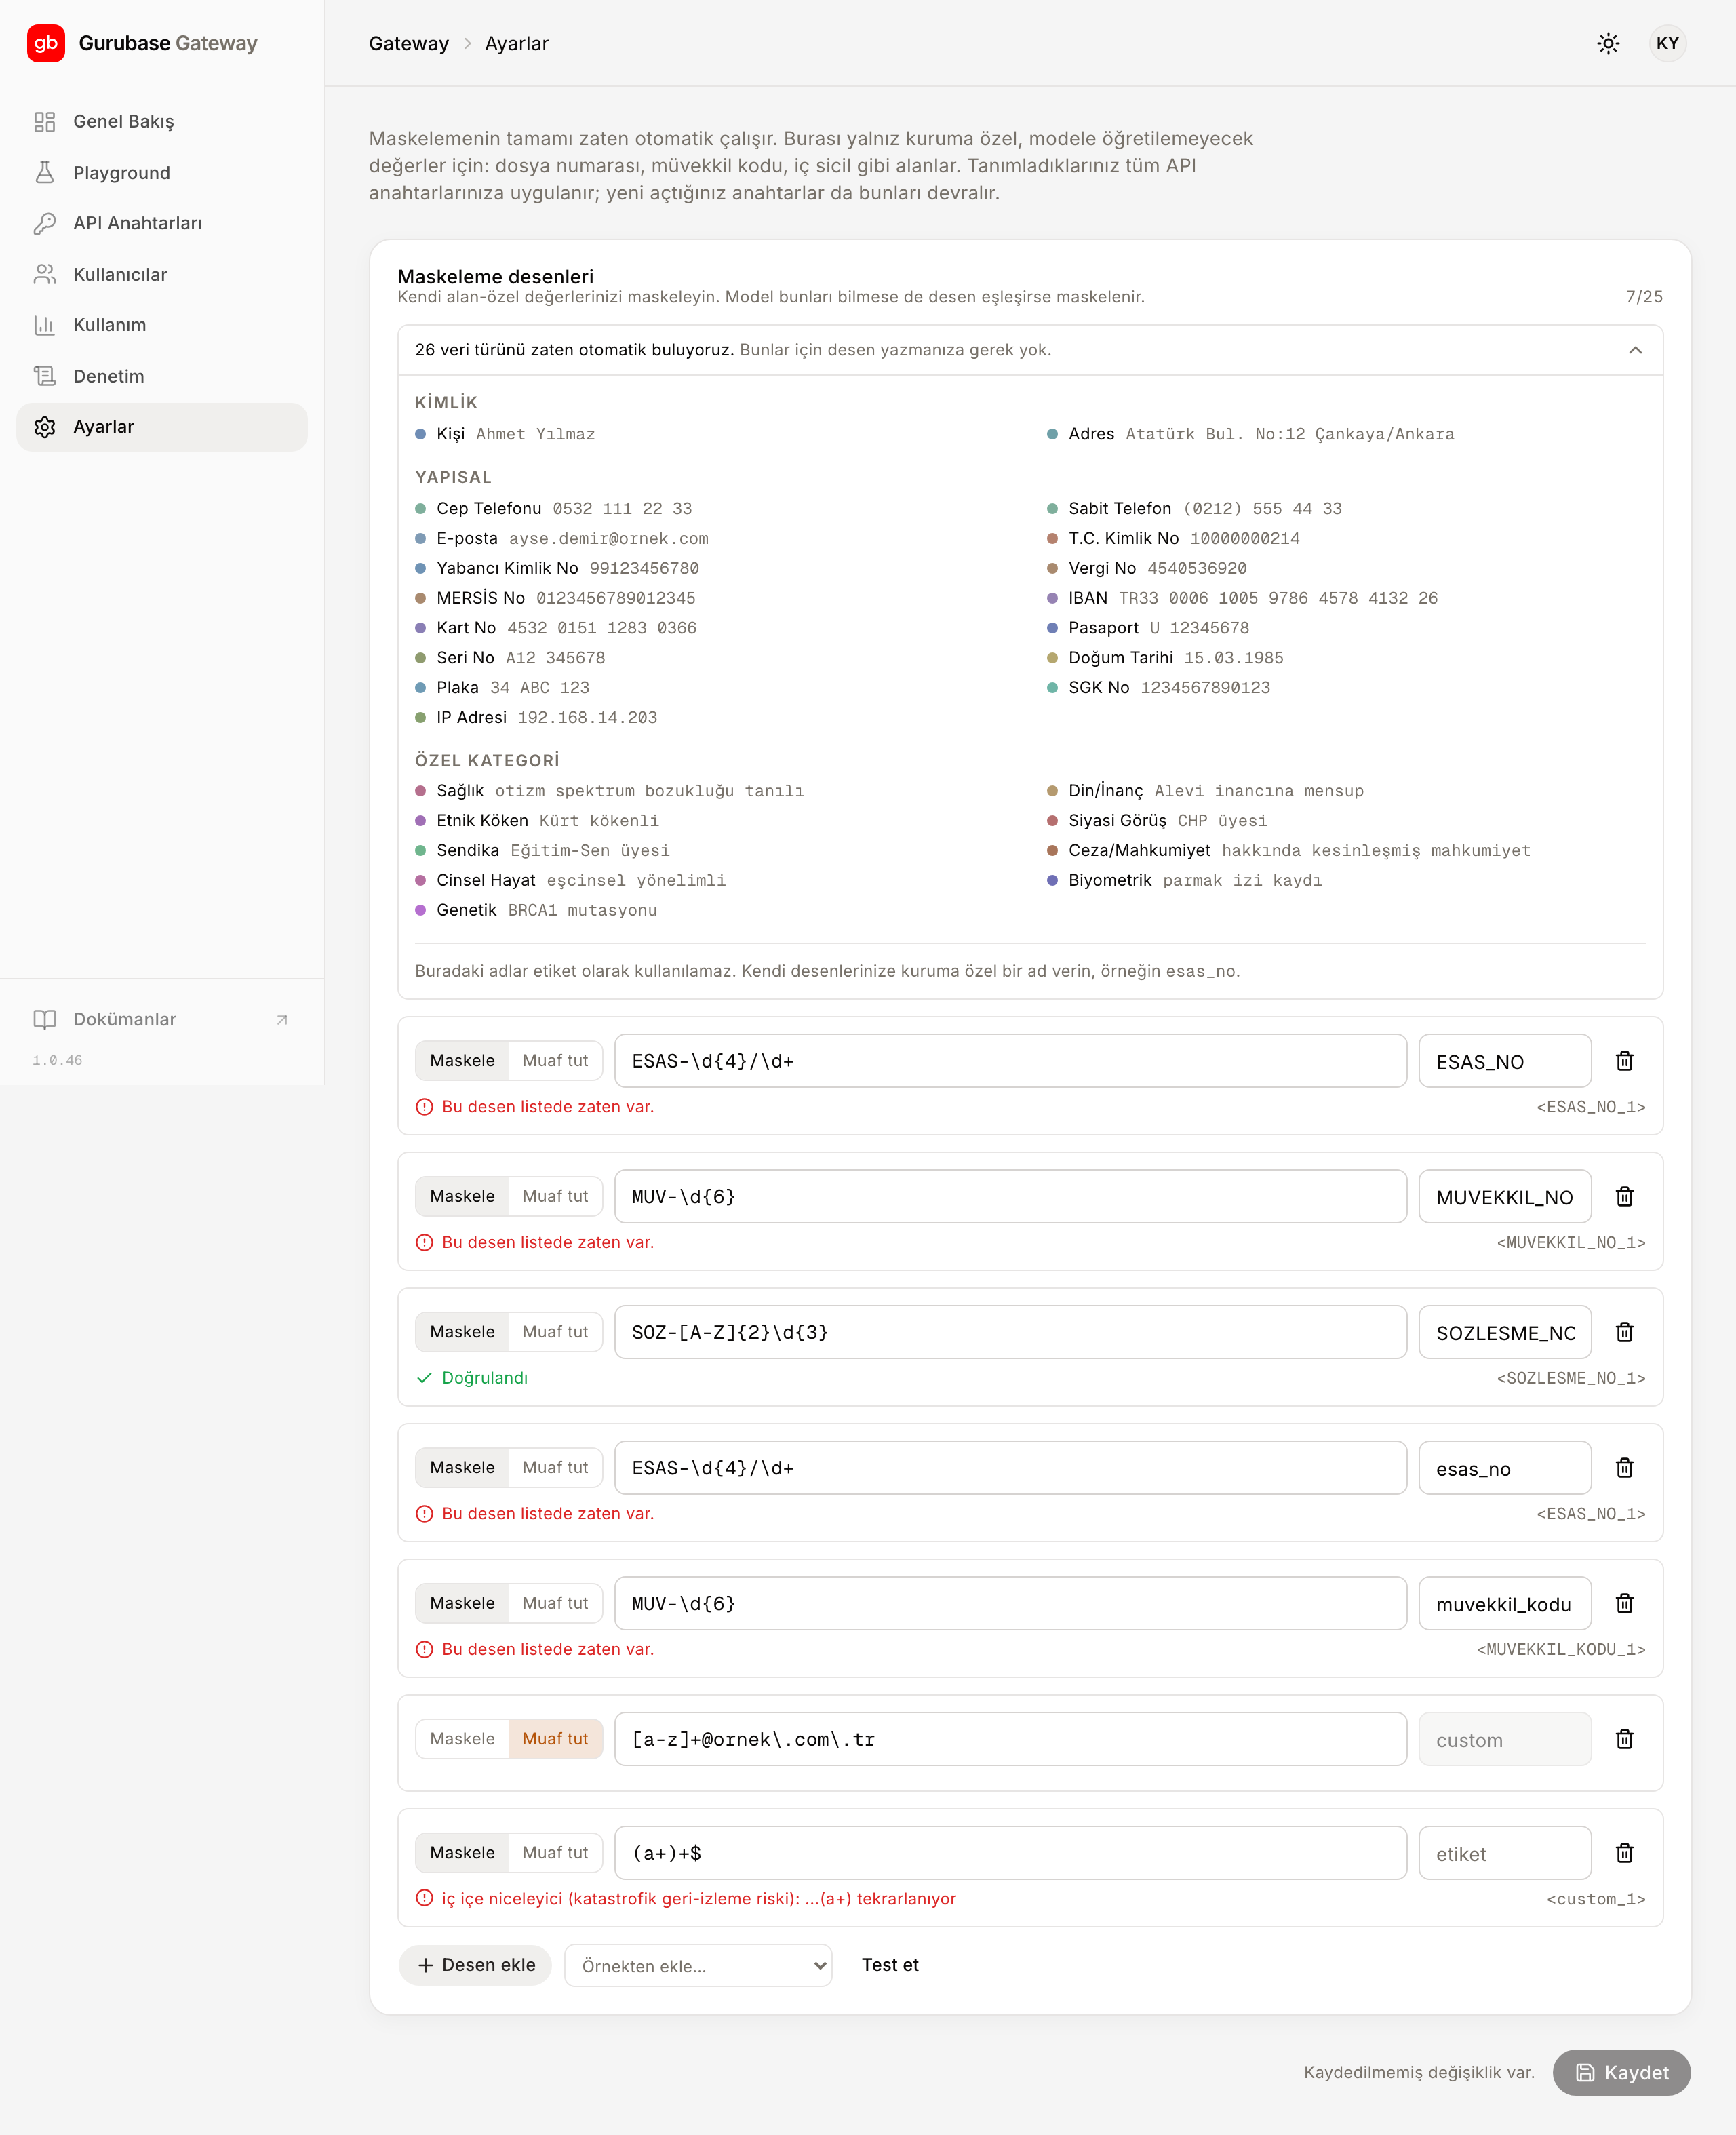
The screen makes three things easier:
- Live checking. You see whether a pattern is valid as you type. The definitive answer comes from the masking service, not from the browser, so a saved pattern will not surprise you in production.
- A test dialog. You enter sample text and see the real effect of your patterns: which parts were masked, and what the exemptions left exposed.
- The built-in category list. The data types we already detect are listed with examples, so you do not redefine something that is already covered. A label that collides with a built-in name is not saved: the same name would mix two different sources under one placeholder and make the reverse mapping ambiguous.
Definitions are kept at the organization level, so you define them in one place and they apply to all of your keys. If you want an exception for a single key, switch it off from the “Güncelle” (Update) dialog above; the pattern itself stays under Settings. For the limits on pattern count and length, see Limits and quotas.
Exemption patterns work in the opposite direction: a matching value is not masked. They are useful when a publicly known organization name is mistaken for personal data. Because they reduce masking, they are marked separately in the panel; decide with a clear view of what you are opening up.